Creating an outdoor kitchen can enhance your outdoor living space, making it perfect for entertaining and family gatherings.
Here’s a step-by-step guide to help you plan and build an outdoor kitchen:
1. Planning and Design
- Purpose and Usage: Determine how you plan to use the outdoor kitchen. This will influence the layout, size, and appliances.
- Location: Choose a location that is convenient, with access to utilities like gas, water, and electricity. Consider the proximity to your indoor kitchen for easy access.
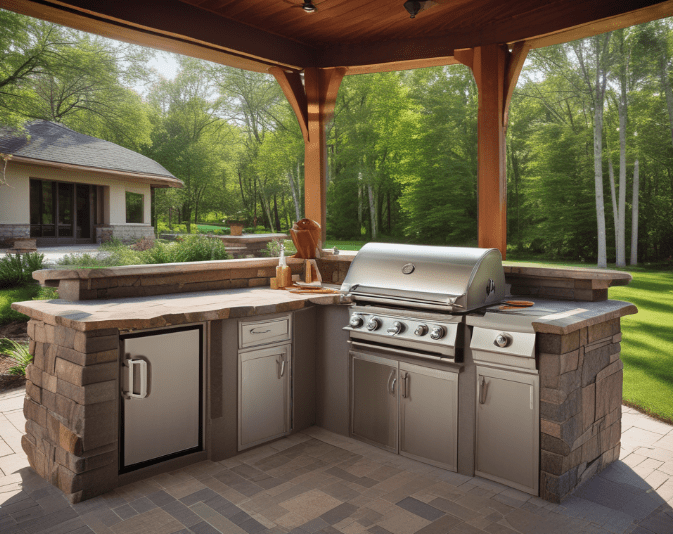
- Layout: Design the layout based on your space. Common layouts include L-shape, U-shape, straight line, and island.
- Approvals: Check with local authorities for any necessary approvals or zoning restrictions.
2. Essential Components
- Cooking Area: Decide on the type of grill (gas, charcoal, or electric) and additional cooking appliances like a smoker, pizza oven, or side burner.
- Preparation Area: Include ample counter space for food prep.
- Sink and Plumbing: Install a sink for washing hands and utensils. Ensure proper plumbing for water supply and drainage.
- Refrigeration: Include a small refrigerator or cooler for keeping food and beverages cold.
- Storage: Plan for cabinets or shelves to store utensils, dishes, and cooking supplies.
3. Materials and Durability
- Countertops: Choose durable materials like granite, concrete, or stainless steel that can withstand outdoor conditions.
- Cabinets: Opt for weather-resistant materials such as stainless steel, marine-grade polymer, or treated wood.
- Flooring: Use outdoor-friendly flooring materials like stone, concrete, or pavers that are slip-resistant and easy to clean.
4. Utilities
- Electricity: Plan for electrical outlets to power appliances, lighting, and entertainment systems.
- Gas: If using a gas grill, you may need to run a gas line from your house or use propane tanks.
- Water: Ensure a reliable water source for the sink and possibly an outdoor ice maker or dishwasher.
5. Comfort and Aesthetics
- Seating: Provide comfortable seating options like bar stools, dining tables, and lounge chairs.
- Shade and Shelter: Incorporate shade structures such as pergolas, umbrellas, or retractable awnings to protect from sun and rain.
- Lighting: Install task lighting for cooking and ambient lighting for dining and entertaining.
- Consider string lights, lanterns, and built-in LED lights.
- Heating and Cooling: Consider outdoor heaters, fire pits, or misting systems for temperature control.
6. Construction
- Foundation: Prepare a stable, level foundation for your outdoor kitchen. This could be a concrete slab, deck, or patio.
- Building: Construct the framework and install the countertops, cabinetry, and appliances according to your design.
- Finishing Touches: Add decorative elements such as backsplashes, trim, and outdoor décor to complete the look.
7. Maintenance
- Cleaning: Regularly clean the appliances, countertops, and flooring to maintain hygiene and functionality.
- Protection: Use covers for appliances and furniture when not in use to protect them from the elements.
- Seasonal Care: Winterise your outdoor kitchen in colder climates by disconnecting water lines and covering or storing appliances.
Summary
Creating an outdoor kitchen involves careful planning, design, and execution to ensure a functional, durable, and aesthetically pleasing space. Consulting with professionals for utilities and construction can help ensure safety and compliance with local regulations.
Enjoy your new outdoor kitchen as a perfect venue for cooking, dining, and entertaining outdoors!
Discover more from Move or Improve
Subscribe to get the latest posts sent to your email.

Leave a comment